You should not normally need to use this setup method, since the provided app templates can be used. Some advanced usecases require it though.
1. Required fields
In order for the app to work, a few fields need to be set up correctly.
Note, that where the name for a column is specified, it’s important that you use exactly that name.
1.1. Board set up
If you have a board to track your employees already, which already has a Person column, you can skip this step.
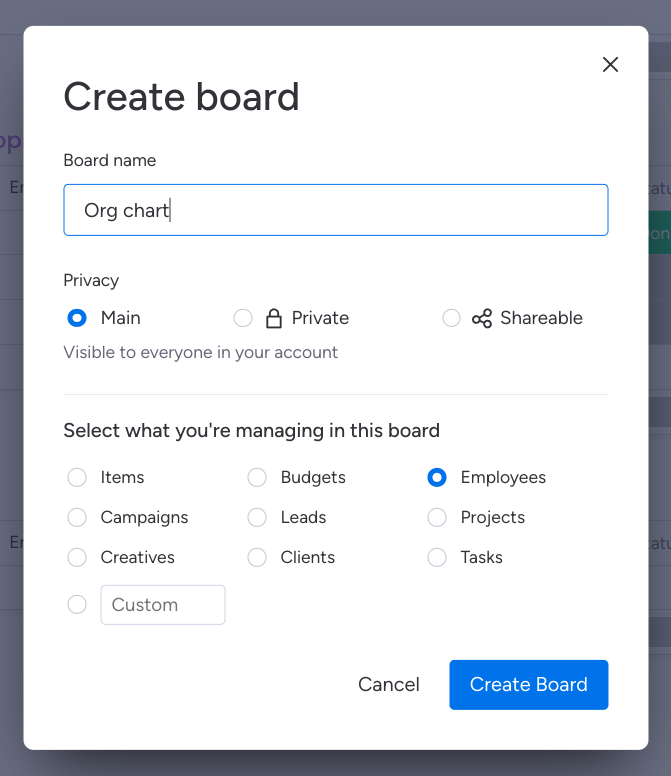
If not, create a new board to track your employees:

You can name this board however you’d like, and we suggest you select “employees” as the item type you’re managing in this board. You can select anything here though, e.g. “companies” or even just leave it as the default “items”.
1.2 Reports to
This is the only required field for the app to work.
Add a “Connect boards” field to the board containing your staff.

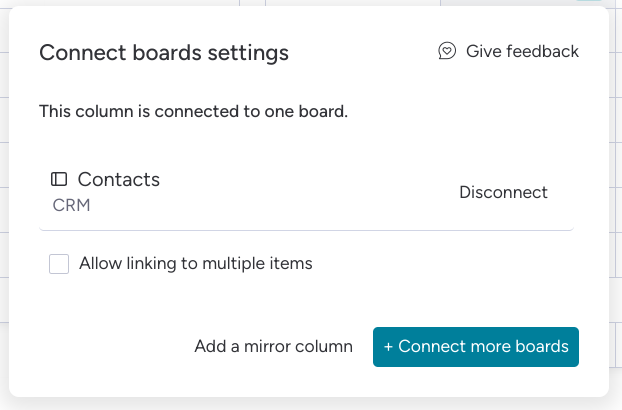
Upon adding the field, click “Select boards”, and select the same board that your are viewing. Click connect boards. You will then be asked about creating a mirror column, simply select “I’ll do it later”.
Rename the field to “Reports to”, or “Manager”.
This field now defines your management structure.

1.3 (optional) - Role
If you’d like to display job/role titles in the org chart, you can do this by creating a text column called “Role” or “Title”.
1.4 (optional, advanced) - Profile Picture
If you wish to display avatars for team members who do not have monday.com accounts, you can do this by creating a file column called “Profile Picture” and uploading profile images for the users who are not linked to a user.
1.5 (optional, advanced) - Role state
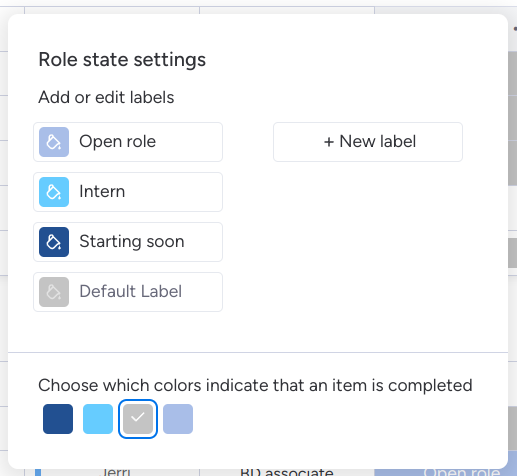
If you want to show tags such as “open role” or other important information about the state of a role, you can do this by creating a Status column called “Role state”.
Navigate to customise the column. Any states which you don’t want to show on the org cart should be set as a “item is completed” state, often you’ll want to do this for the grey default label color, or any other states which are used for when the role is ongoing and normal.
When done, your column settings should look like this:

1.6 (optional, advanced) - Assistant To
If you have assistants, or EAs which you want to show on your org chart, you can add a column with the same configuration as the Reports to column, but named Assistant to.
To do so, select the reports to column and duplicate it (without data), then rename it to Assistant to.
After this, you’ll be able to set up your EAs/PAs and other assistants to show correctly on the org chart.
The following video shows this step:
1.7 All columns
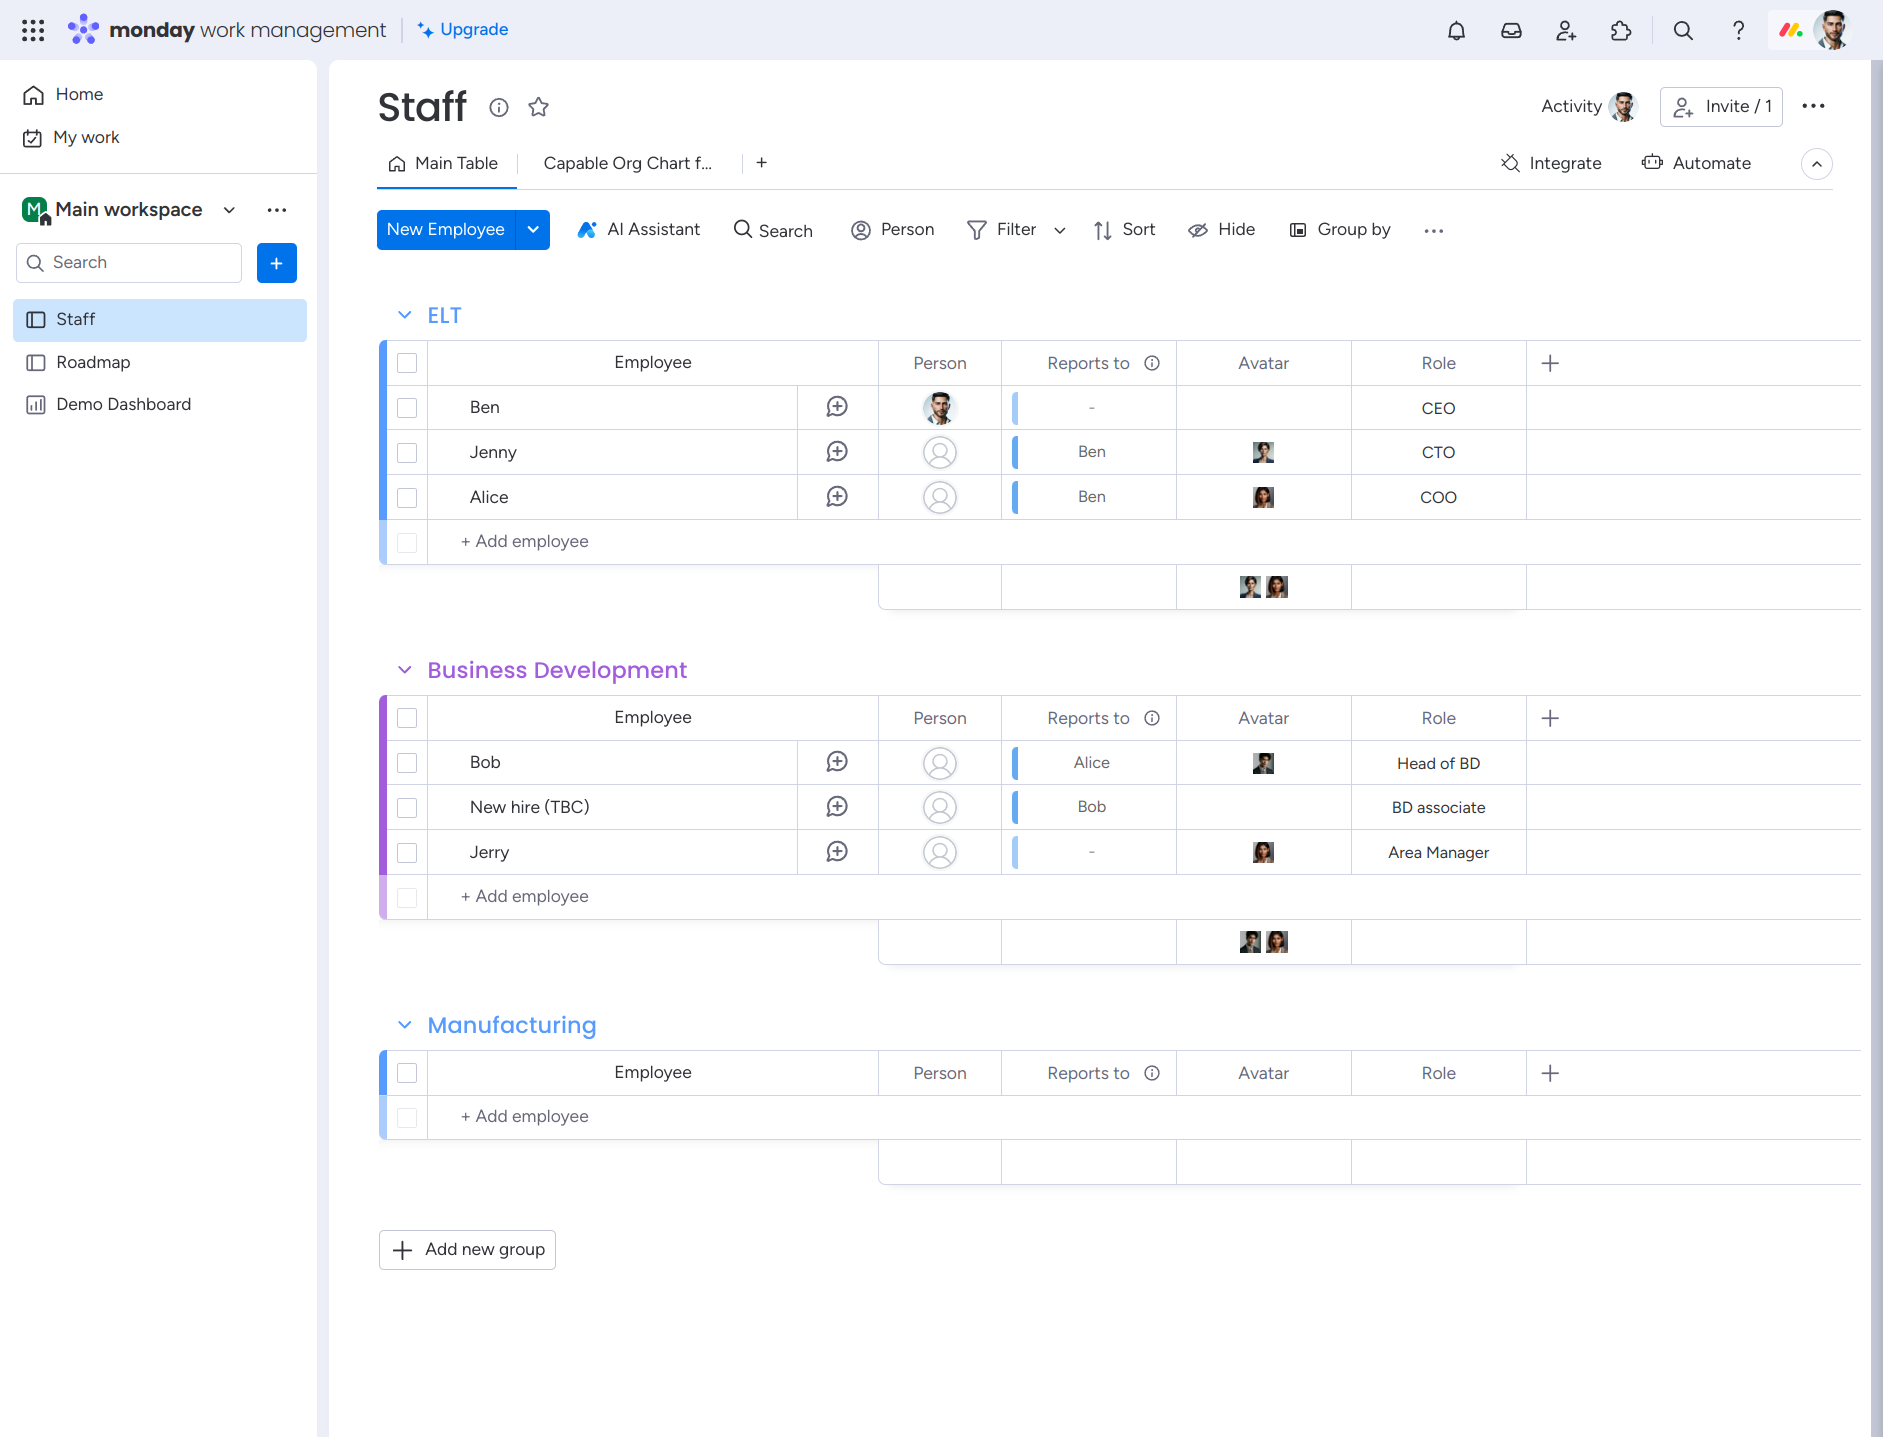
When you’re finished, your board may look something like this:

2. Add board view
Now that your fields are all set up, add the new board view for the org chart visualisation.
- Select the
+icon - Browse to installed apps
- Select “Capable org chart for teams”
- Click “Open in board”
The following video demonstrates the the process and use: